Terno Guide
Follow these simple steps to set up your organization, connect your data, and unleash your AI Data Scientist.
Sign Up on Terno
Please click here to sign up on Terno.
Create an Organisation
After Signing Up, you need to create an Organisation in order to start using Terno. Please watch our detailed tutorial on how you can create organisations on Terno below.
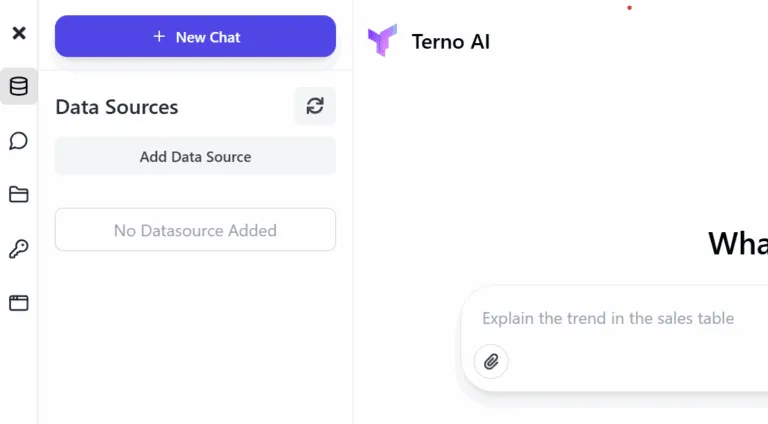
Add a Data Source
There are multiple ways to add Multiple Data sources to the same organisation so that you can sync all your data in one place. You just need the connection string and Terno connectors will do the rest. You can start researching and Analyzing on Terno even without adding a Data Source. You can also ask Terno to download any data that is publicly available.
Analyze on Terno
You can start Analyzing/Researching right after step 2 but as Terno was created to make Data Science and analytics easier, it delivers the best results on a given data set.
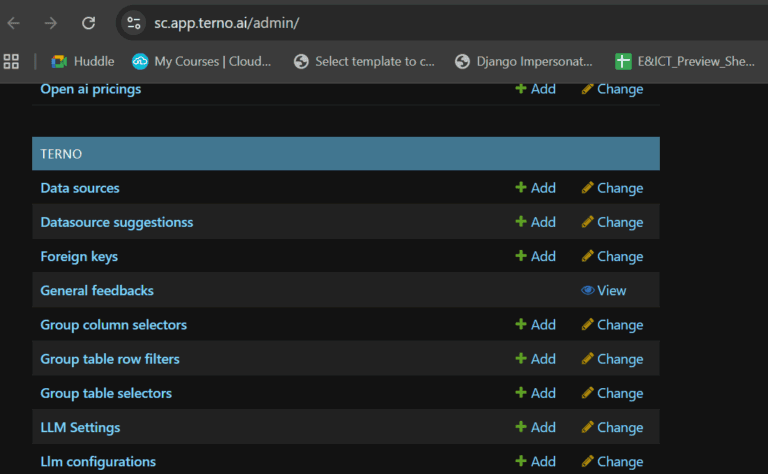
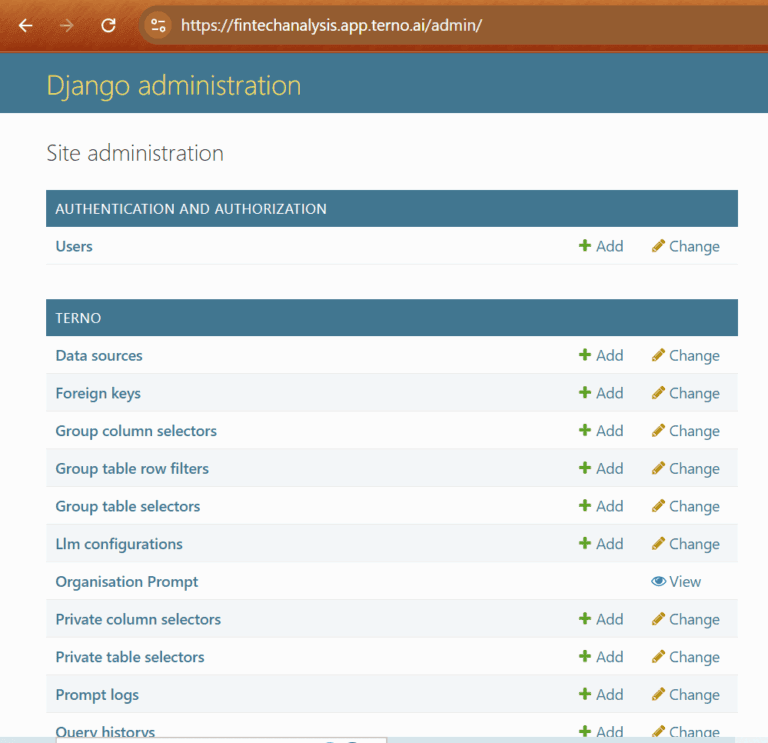
Access Admin Panel
Terno is fully customizable. You can customize Terno through the admin panel. You can add multiple data sources from Admin, you can choose who has access to particulars Rows and Columns, you can also configure the LLM you want to use amongst much more. We will see all of these features one by one in the later steps. For now, you can use Terno without any additional configuration in the admin panel.

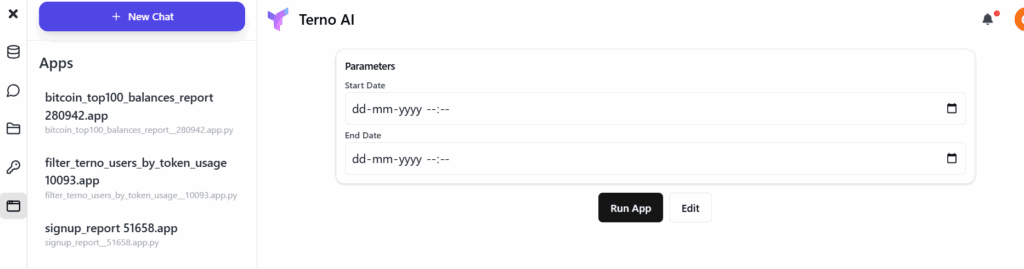
Create Reusable Apps from your queries
Terno will give you suggestions for the queries that can be converted into Apps. For Ex: You can create an app to check the daily sign ups on your website, once you connect your website to Terno. You can check the sign ups daily on this app without exhausting any additional Tokens.
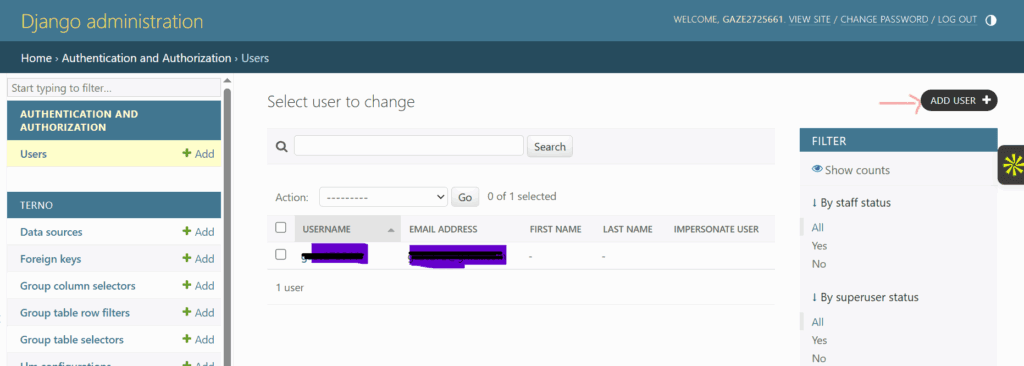
How to add members to your Organisation
There is no limit to how many people you can add to your Organisation. The queries executed on your Organization by the added members will exhaust the token balance from your account. To add members to your Organisation, Go to your admin panel and click on Users.
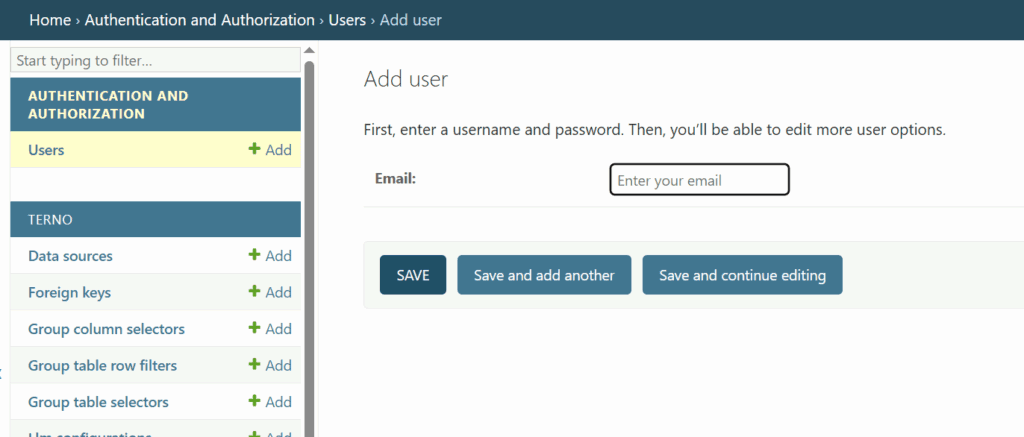
Click on Add User
Just Enter the email address of the user you want to add to the organisation and click save.